LIGHT, SHADOW, HIGHLIGHT. Episode 1
- Barry Mountford
- Jan 20, 2020
- 4 min read
Updated: Feb 15, 2020
Hey folks its a brand new year and one I am pumped for! 2020 is gonna be another great year! To kick this new decade off I wanted to share with you some lighting setups and behind the scenes from a portrait session where we tried out a few different setups, if you prefer to watch the video you can check it out here.

I wanted to start with this image as its very achievable for most and its a great look! Light, Shadow and hi light, always a great combination for creating portraits from a lighting point of view, but this is the interesting part, changing the intensity of the hi light or the tone in the shadows whilst maintaining the exposure can produce a different feel to an image from being dramatic to soft and subtle and that is what is so intriguing about photography, we all have our own taste in lighting and this is what makes photography so exciting and the more we share information on how images are created the more it evolves, grows and intensify the urge to pick up a camera and explore it all over again!
Ok before we dive into this you can achieve this look with simple lights (speedlites etc) I will list all the gear I have used at the bottom of this post so don't get to hung up on gear, the position of the lighting is more important, especially as I am working in a very small studio space,
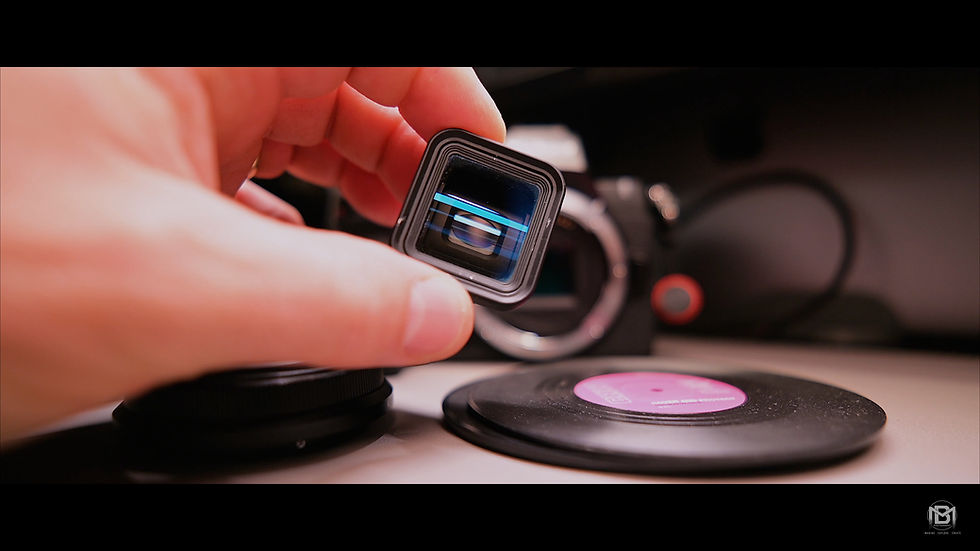
So lets break down this image, My starting point is the background light, I position a standard reflector roughly about 2ft away from the background to create a ball of light behind the subject, I have a 60 degree grid fitted as I preferred the amount of spread it produces at this distance, you can fine tune this to your desired look by simply moving the light closer to the background ( making the ball of light smaller) or further away ( making the ball of light bigger.) Once I am happy with the position of the background light and its lighting up some of the lovely textures in my Artery hand painted backdrop the next step is to create that strip of light coming down Ashleighs face, now there are a couple of ways you can achieve this and the most inexpensive way is to make a slit in some black card or paper and fire a light through that creating a strip of light on your subject, the only problem with this is its cumbersome and you don't have a whole load of control over the light. To make this setup more efficient and more effective I am using an optical snoot from Pixapro a great tool which allows you to add different shaped gobos easily and quickly allowing for a very effective way to create this look.


To make the most of this modifier I recommend you use a strobe with a modelling light this way we can see where the shape of the light will fall on your subject, you can use it without but that will slow the process down.

Positioning of the slit of light comes down to taste, I wanted the light illuminating one eye and the side of her arm now the reason I use this optical snoot is it allows you full control over the shadows, you use the lens to focus the light which can produce either a very defined shadow line or a very diffused one again this comes down to taste.

The next step was to add a hair light this is placed directly behind and above our model and fitted with a standard reflector, the intensity of the light comes down to how harsh or soft you want it to look, I always feel the harsher the light the more dramatic it looks either way it has a great impact on any image.

Using the hair light gives great separation from the background. With all three lights in position I wanted to use the hair light and bounce some of that light back into our model to lift the shadows slightly and this was simply achieved using a 5 in 1 reflector to reflect some of that light back in.


Its a subtle effect but does enough to lift those shadows.
With everything in position we can now get our shot, I haven't metered for the light as I shoot tethered to my laptop this way I just adjust the exposure accordingly as I see the images on screen, I also shoot raw so I develop the image in photoshop mainly saturation, contrast and sharpening are adjust as well as a tweak to the colour temperature.


So there you go folks, I hope you find this post useful, if you do consider subscribing to the website and YouTube channel as there will be more episodes following.
Affiliate links below,
The gear I use
Camera. https://amzn.to/2v53b2B
Kit Lens. https://amzn.to/2RFIdzc
Favourite prime lens https://amzn.to/36bKR4X
5 in 1 reflector. https://amzn.to/34n7Ny4
Speedlite. https://amzn.to/2KQQQnH
Citi 600 https://amzn.to/30EqOL1
Pika 200. https://amzn.to/2KMJTE3
Smart Bracket https://amzn.to/2Daq2uj
Light Stand. https://amzn.to/2sdDZpj
c stand. https://amzn.to/33i0C8I
90 cm octobox. https://amzn.to/2pRgwti
Rode Video Micro https://amzn.to/2XMpbJR
Rode Cable https://amzn.to/2pLcuT1
clamps. https://amzn.to/37CH82i
Table top tripod https://amzn.to/33ejw0j
All Terrain Trolly https://amzn.to/2QNiKEQ
Motorised Dolly. https://amzn.to/2OdMvgt
Gimbal. https://amzn.to/35zJptb
Card Reader https://amzn.to/2QPb3y6
HDD Dock https://amzn.to/2QKHxtd
Belt Camera strap https://amzn.to/2rpgF7K
Sandbag https://amzn.to/2pRhYfe
Huion 610 Pro Graphics Tablet https://amzn.to/37CIr1c


Comments